WE DELIVER AUSTRALIA WIDE *
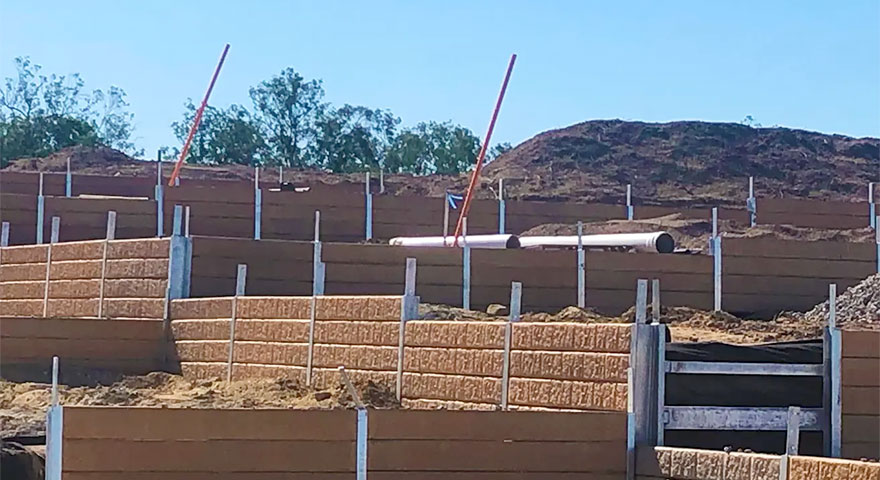
What is the preparation involved in building a retaining wall.
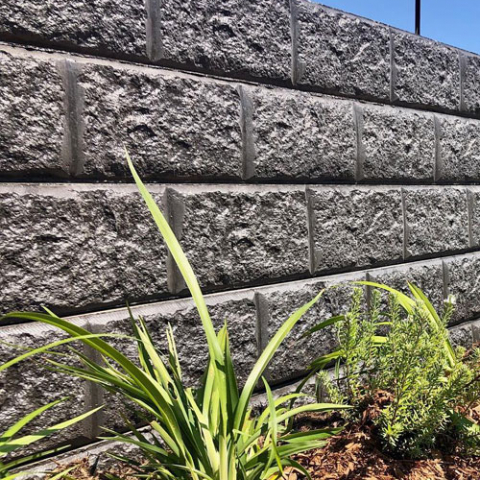
1 Aug 2024Retaining walls are a form of revetment used to stabilise the soil around civil engineering projects. They support residential buildings, commercial buildings, bridges and other structures. Retaining walls are becoming increasing popular in commercial and home landscaping projects as a way to make sloping properties more usable, control water runoff and soil loss, and potentially add aesthetic appeal to a property.
While appearing simple in design and construction, retaining walls are load bearing structures and often support a great deal of weight depending on their size and surrounding structures. There are various pressure loads depending on soil composition and moisture content, and many other engineering considerations which come into play based on the specific construction circumstances. Large retaining walls and retaining walls that are placed in important locations require solid engineering that may be unappreciated by people outside of the industry.
As is true of many load bearing constructions, the strength of the retaining wall is largely influenced by how well it is grounded. Just as a house built on shifting sand will not last, a retaining wall without a firm foundation presents a very real risk of causing property damage and possibly even injury.
This makes proper site preparation an incredibly important process of constructing a retaining wall. Shortcuts in site preparation can doom the retaining wall to eventual failure no matter how well the retaining wall was designed and how well it performed on paper.
Defining a retaining wall
As defined by Australian Standard, AS4678 – Earth Retaining Structures, a retaining wall is a vertical or near vertical structure having an angle of 70 degrees or more used to maintain the soil at two separate levels generally along a lateral front. They must be a minimum of 0.8 meters high but no higher than 15.0 meters high.
Preparing to build a retaining wall
Building a retaining wall is a big job, so while it may be tempting to skip or rush steps in the preparation to build a retaining wall, it is strongly recommended that each step be given full attention and completed to the highest possible standard. Short cuts and/or shoddy workmanship will only cause frustration in the actual construction of the wall and possibly present very real safety issues in the future.
Site evaluation
The first step in preparing to build a retaining wall is predicting the effects of it, and just as importantly, it’s construction, on surrounding structures. If work in an area imposes risk on nearby structures then extra care must be taken or another solution must be found.
The second step in preparing to build a retaining wall is to evaluate the site for suitability and to determine the composition of the soil to be stabilised. The nature of the soil in the surrounding area will greatly influence future steps in the construction process. Many soil types require stronger retaining walls than others and this is determined based on moisture content, coarseness, and other factors.
Retaining wall site preparation
The first step after determining the suitability of your wall site is to remove all topsoil and vegetation from where the wall will be located. It is important to remember that you will need a minimum of 30cm clearance behind the retaining wall to allow for adequate backfill and the installation of an effective drainage system. The site should be levelled and the underlying soil compacted as much as possible. In some cases, it may be necessary to add some aggregate to the underlying soil to assure proper compaction.
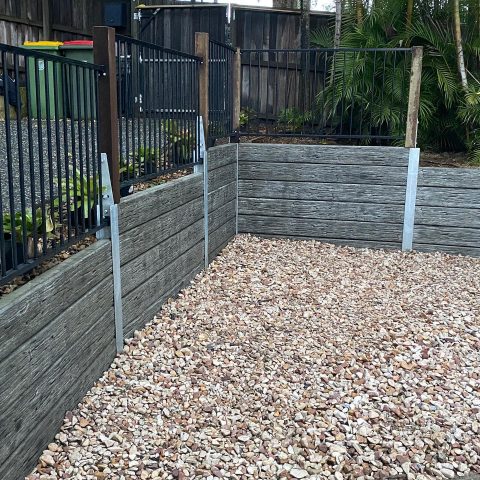
Next, star pickets or pegs should be driven in the ground at each end of the proposed wall site in line with the centre line of the wall. Run a taut string from each peg both top and bottom. These will be your guides when marking post holes, measuring the angles of your posts and constructing the wall, and will help to ensure that the retaining wall is well-aligned.
Mark where each post hole will need to be bored. Be sure that they are at a proper interval for the length of concrete sleepers that you are going to use and that they are centred accurately. Spray paint can come in very handy for this purpose.
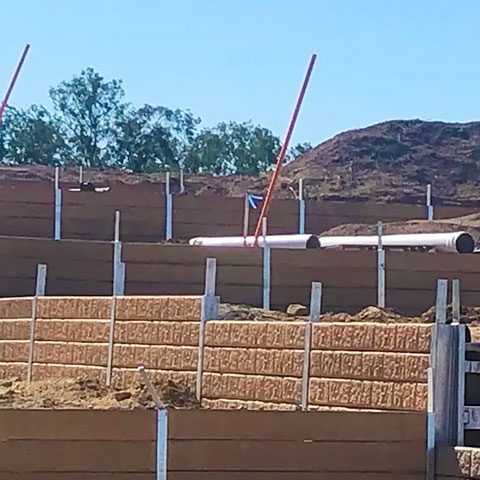
Dig holes according to the engineer’s specifications or the design guide with an auger or post hole diggers. Next, the posts have to be set in concrete so that they are well supported and able to effectively bear and transmit load. The concrete can be delivered or hand mixed; the method of getting the concrete is usually chosen based on the size of the retaining wall. Measure each pole to assure spacing and positioning are correct and allow the piers to dry. This can take 3 days or longer. It may be necessary to brace or clamp the poles in position to avoid them shifting before the concrete begins to set. As an alternative, a concrete sleeper can be placed in position between each post to assure proper alignment and hold the post in the proper position.
If you are going to install fencing at the top of the wall, this would be when you would place the fence brackets on top of the poles, such as QPro fence brackets.
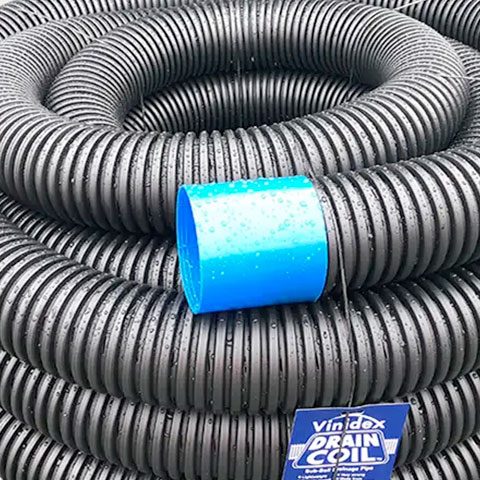
Now is the time to install the Agi pipe for your drainage system and protect it with geo fabric and appropriate aggregate. It is crucial that the draining system is completed to specification to ensure that it performs well as insufficient drainage will greatly reduce the lifetime of the retaining wall.
The preparation for the retaining wall is now completed. From here, it is simply a matter of installing the concrete sleepers in place and ensuring that there is appropriate backfilling for a strong retaining wall. If you are looking to use QPro concrete sleepers in your next project, check out the specification for more detail on how to use the product.